How to Make a Yeast Starter
Published How we research
A yeast starter is a small batch of low-strength wort that you ferment a day or two before brew day to grow a larger, healthier population of yeast. The goal is to make sure you pitch enough active cells into your beer. Underpitching, or adding too few cells, stresses the yeast and can cause slow starts, incomplete fermentation, and off-flavors. A starter is the reliable fix, especially when using liquid yeast or brewing a strong beer.
The reason starters matter comes down to cell count. A single package of liquid yeast often contains fewer viable cells than a standard-strength batch really needs, and that number drops further as the package ages. Dry yeast usually contains far more cells per packet, so a starter is less often necessary with dry yeast in normal-strength beers. When brewing high-gravity beers, though, even dry yeast benefits from a bigger, healthier pitch.
To make a starter you need dry malt extract, water, a sanitized flask or jar large enough to hold the volume with room for foam, and some foil or a breathable cover. The starter wort is intentionally weak, roughly the strength of a light beer, because the aim is to encourage the yeast to reproduce rather than to make alcohol. Boil the extract and water briefly to sanitize, then cool it to a safe pitching temperature before adding your yeast.
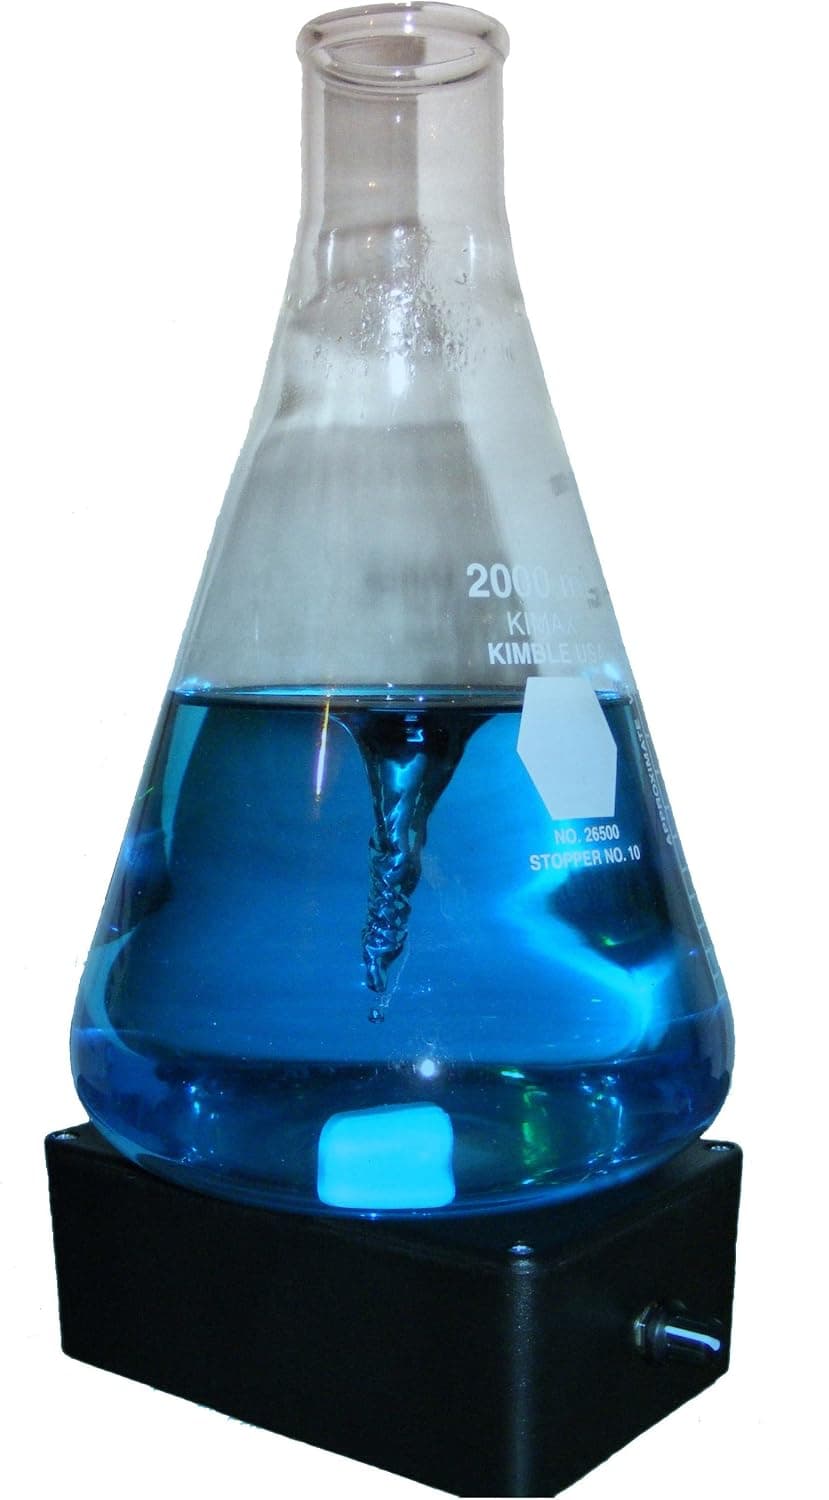
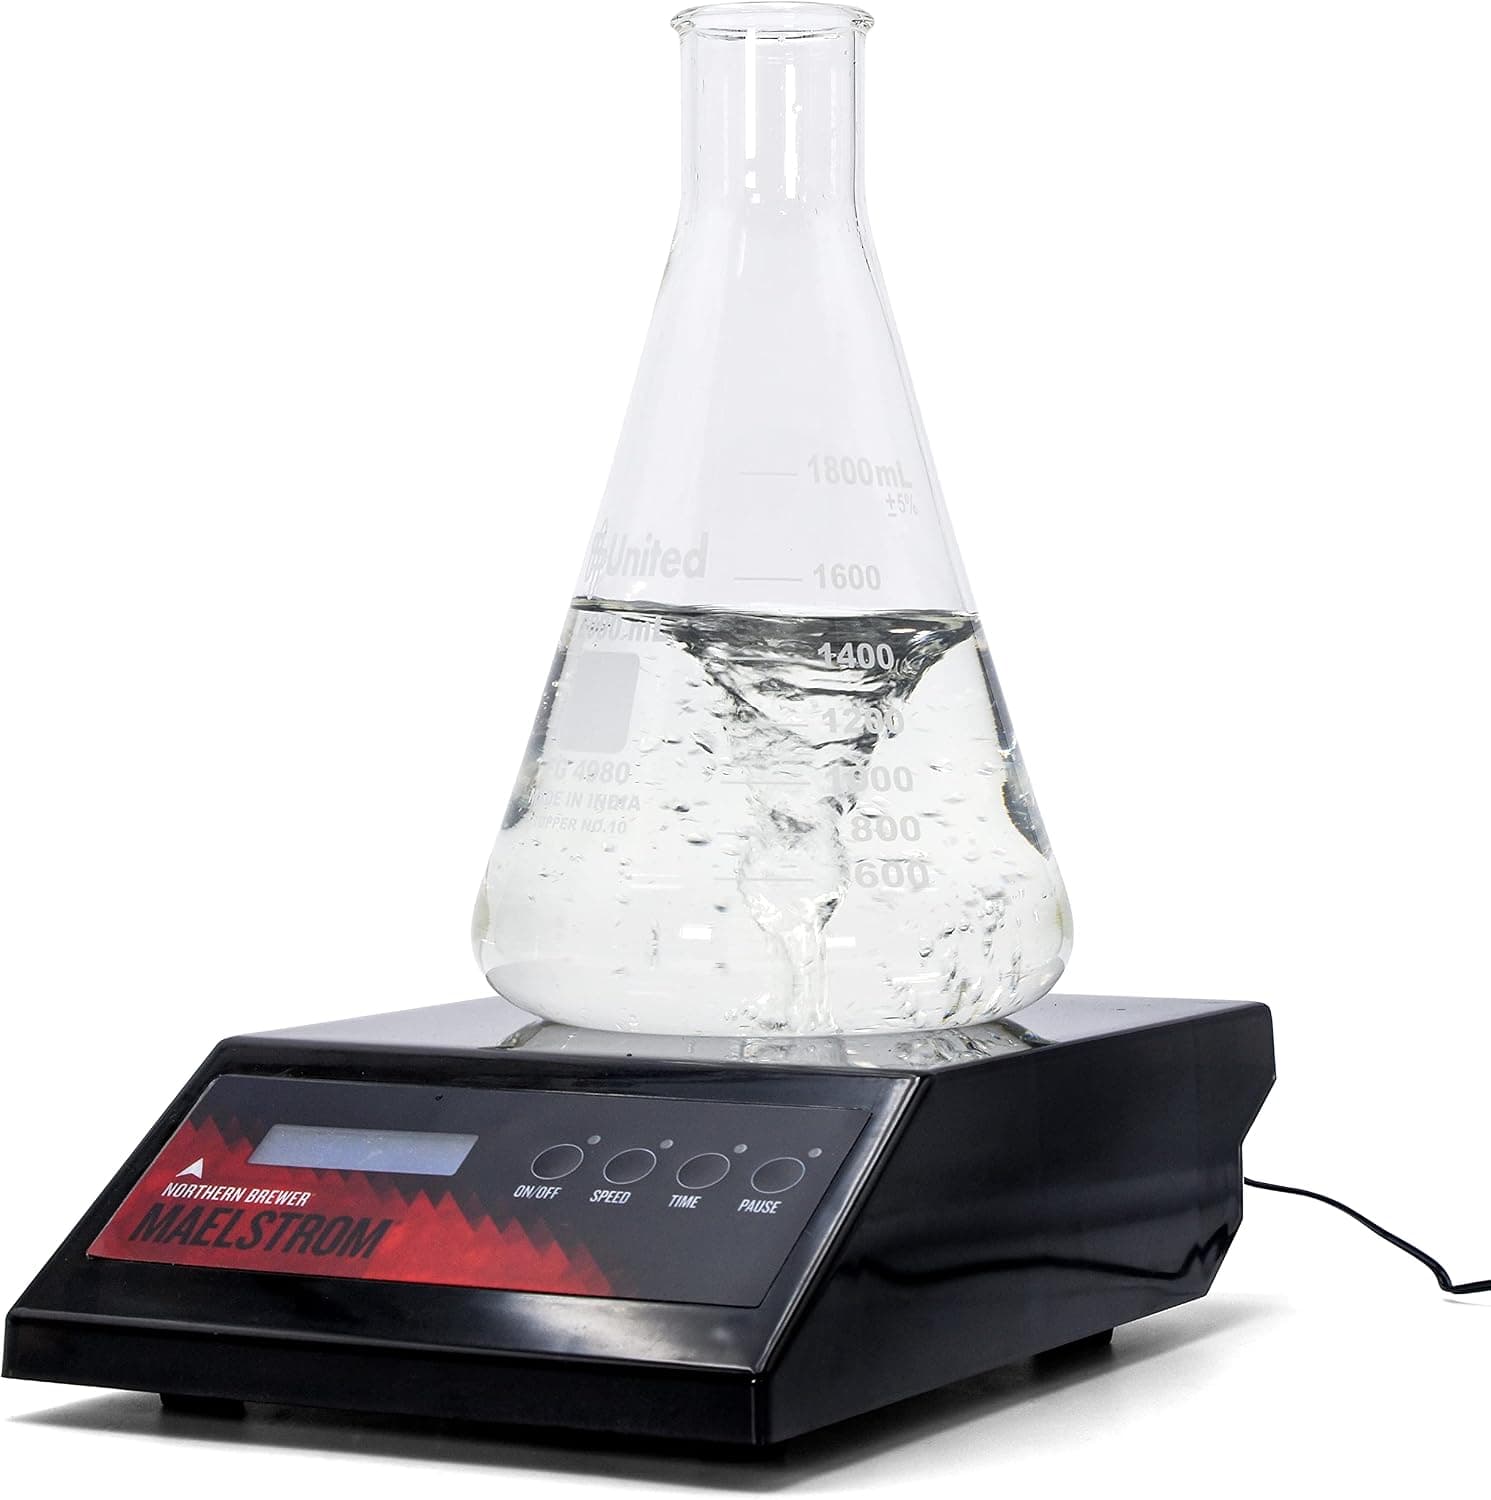
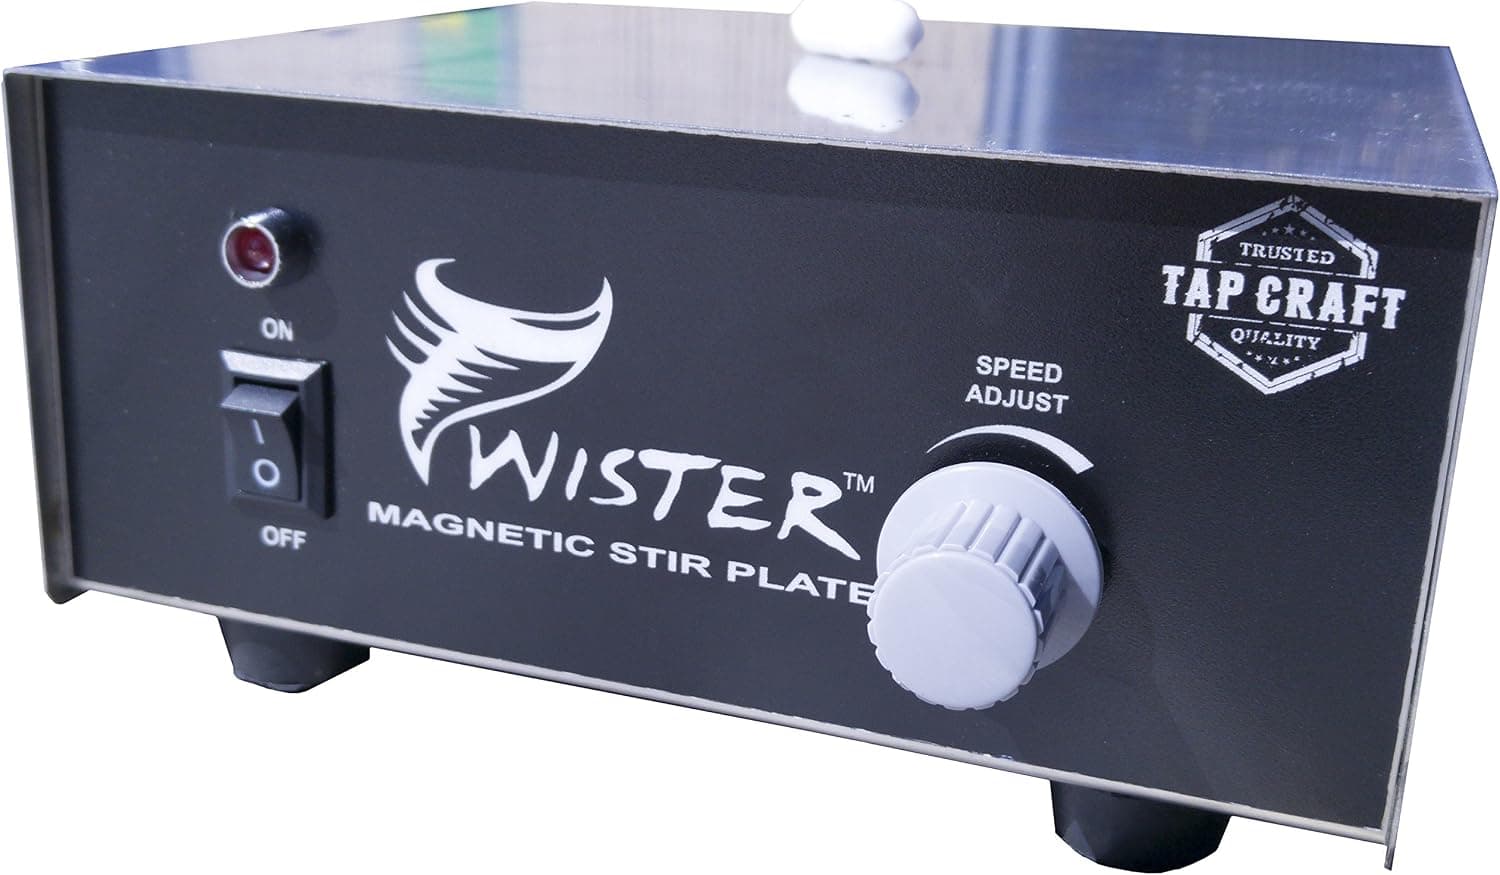
Once the yeast is pitched into the cooled starter, the yeast begins to feed and multiply. Oxygen speeds this growth, so many brewers use a stir plate, which spins a small magnetic bar to keep the starter aerated and in motion. If you do not have a stir plate, you can simply swirl the flask by hand periodically. Keep the starter at a comfortable room temperature, similar to normal ale fermentation.
After a day or two the yeast will have grown substantially and formed a layer at the bottom of the vessel. At this point you have two options. You can pitch the entire starter, wort and all, directly into your cooled batch, which is simplest. Or you can chill the starter in the refrigerator, let the yeast settle, and decant most of the spent liquid off the top so you pitch mainly the thick, healthy yeast slurry.
Timing and cleanliness are the keys to a good starter. Plan to make it one to three days ahead so the yeast is at peak activity when you pitch, and sanitize everything just as carefully as you would on brew day, since a starter can be infected too. A little advance effort produces a vigorous fermentation that starts quickly and finishes cleanly, which is exactly what you want for consistent, high-quality beer.
Products from this article
The highest-scoring picks from the buying guides mentioned above. Scores are our editorial assessment, not customer ratings.
+ Stir bar is included, so you only need a flask to begin
From our guide: Best Stir Plates for Yeast Starters (2026)
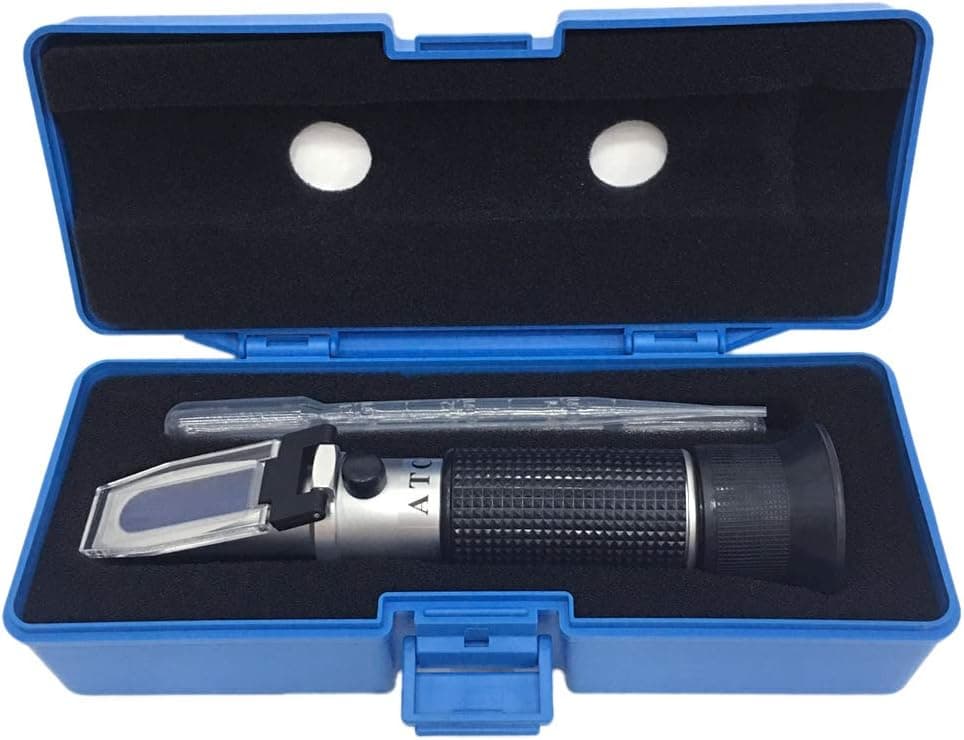
+ Needs only a few drops of wort, so no big samples are wasted
From our guide: Best Refractometers for Homebrew (2026)
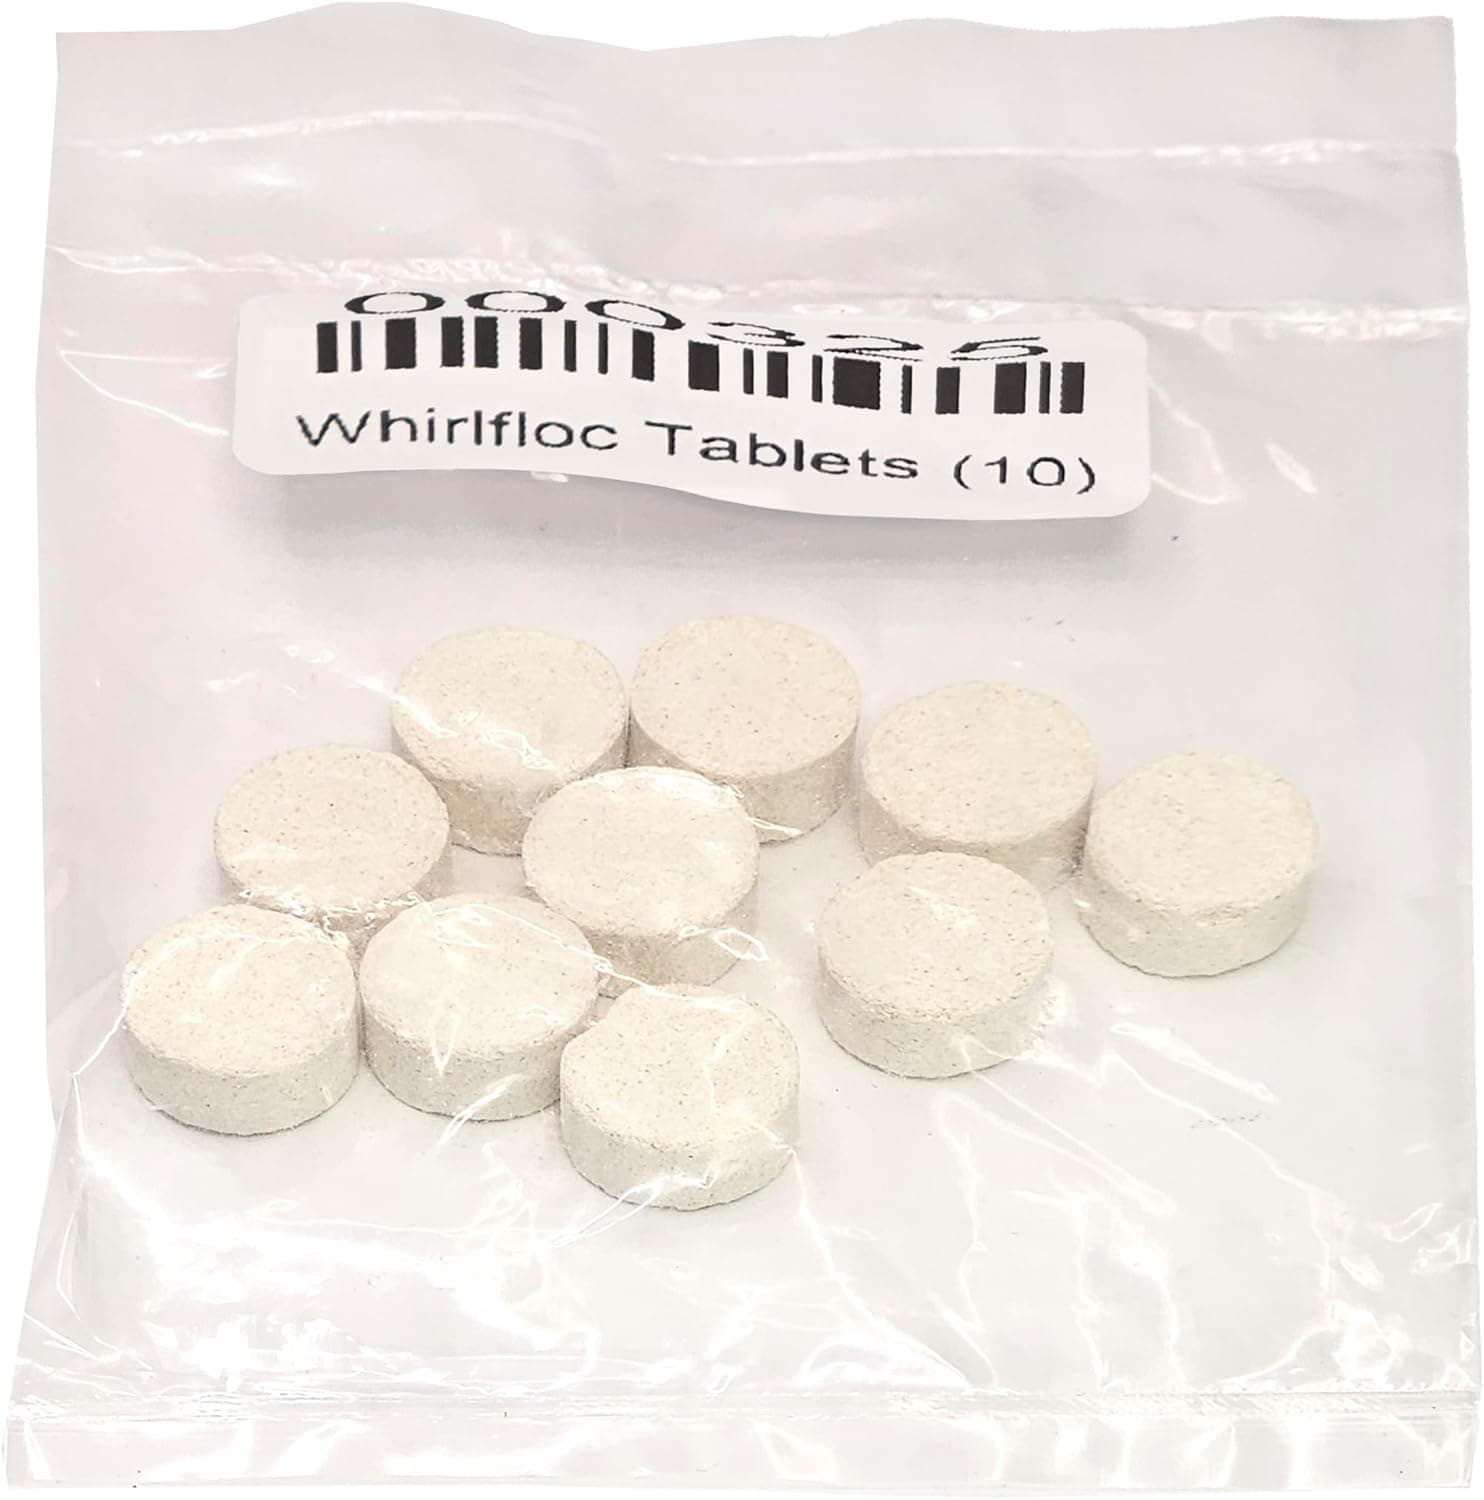
+ 10 count pack matches one tablet per batch for ten brew days
From our guide: Best Brewing Finings for Clearing Beer (2026)
+ 7" x 7" stainless top is stable and wipes clean from spills
From our guide: Best Stir Plates for Yeast Starters (2026)
Popular right now
- How to Store Hops and Grain ProperlyArticle
- Best Brew in a Bag (BIAB) Bags for Homebrewing (2026)Buying guide
- Cleaning and Sanitizing KitCollection
- Fermentation Temperature ControlCollection
- First Extract Brew KitCollection
- Reading Original and Final Gravity to Calculate ABVArticle
Based on the last 28 days of search and visitor data.