Bottling Basics for Homebrewers
Published How we research
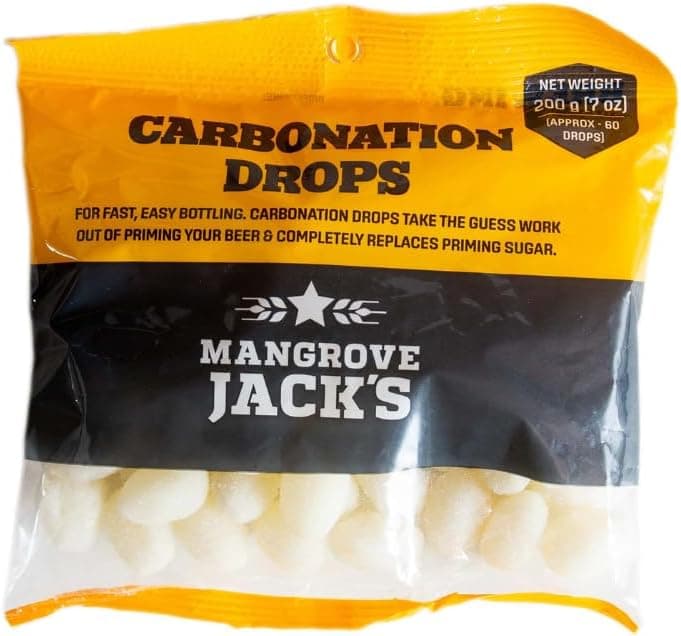
Bottling is the classic way to package homebrew, and it remains a great choice for beginners because it needs little specialized equipment. The idea is simple: you move your finished beer into bottles along with a small, measured amount of sugar, then seal them. The yeast still present in the beer ferments that sugar and produces carbon dioxide, which is trapped in the sealed bottle and carbonates the beer naturally over a couple of weeks.
Start with the right bottles. Use sturdy brewing bottles designed to hold pressure, either the pry-off crown type or swing-top bottles with a built-in stopper. Avoid twist-off bottles, which do not reseal reliably, and never use thin containers not made for carbonated beverages, since they can fail under pressure. Collecting and reusing commercial pry-off bottles is a common and economical approach.
Cleaning and sanitizing your bottles well is essential because any residue or microbe left inside can spoil the beer or cause off-flavors. Rinse bottles right after you empty them so nothing dries on, clean away any film with a brush and brewing cleaner, and sanitize every bottle just before filling. A bottle tree or rack lets sanitized bottles drain and stay clean while you prepare to fill.
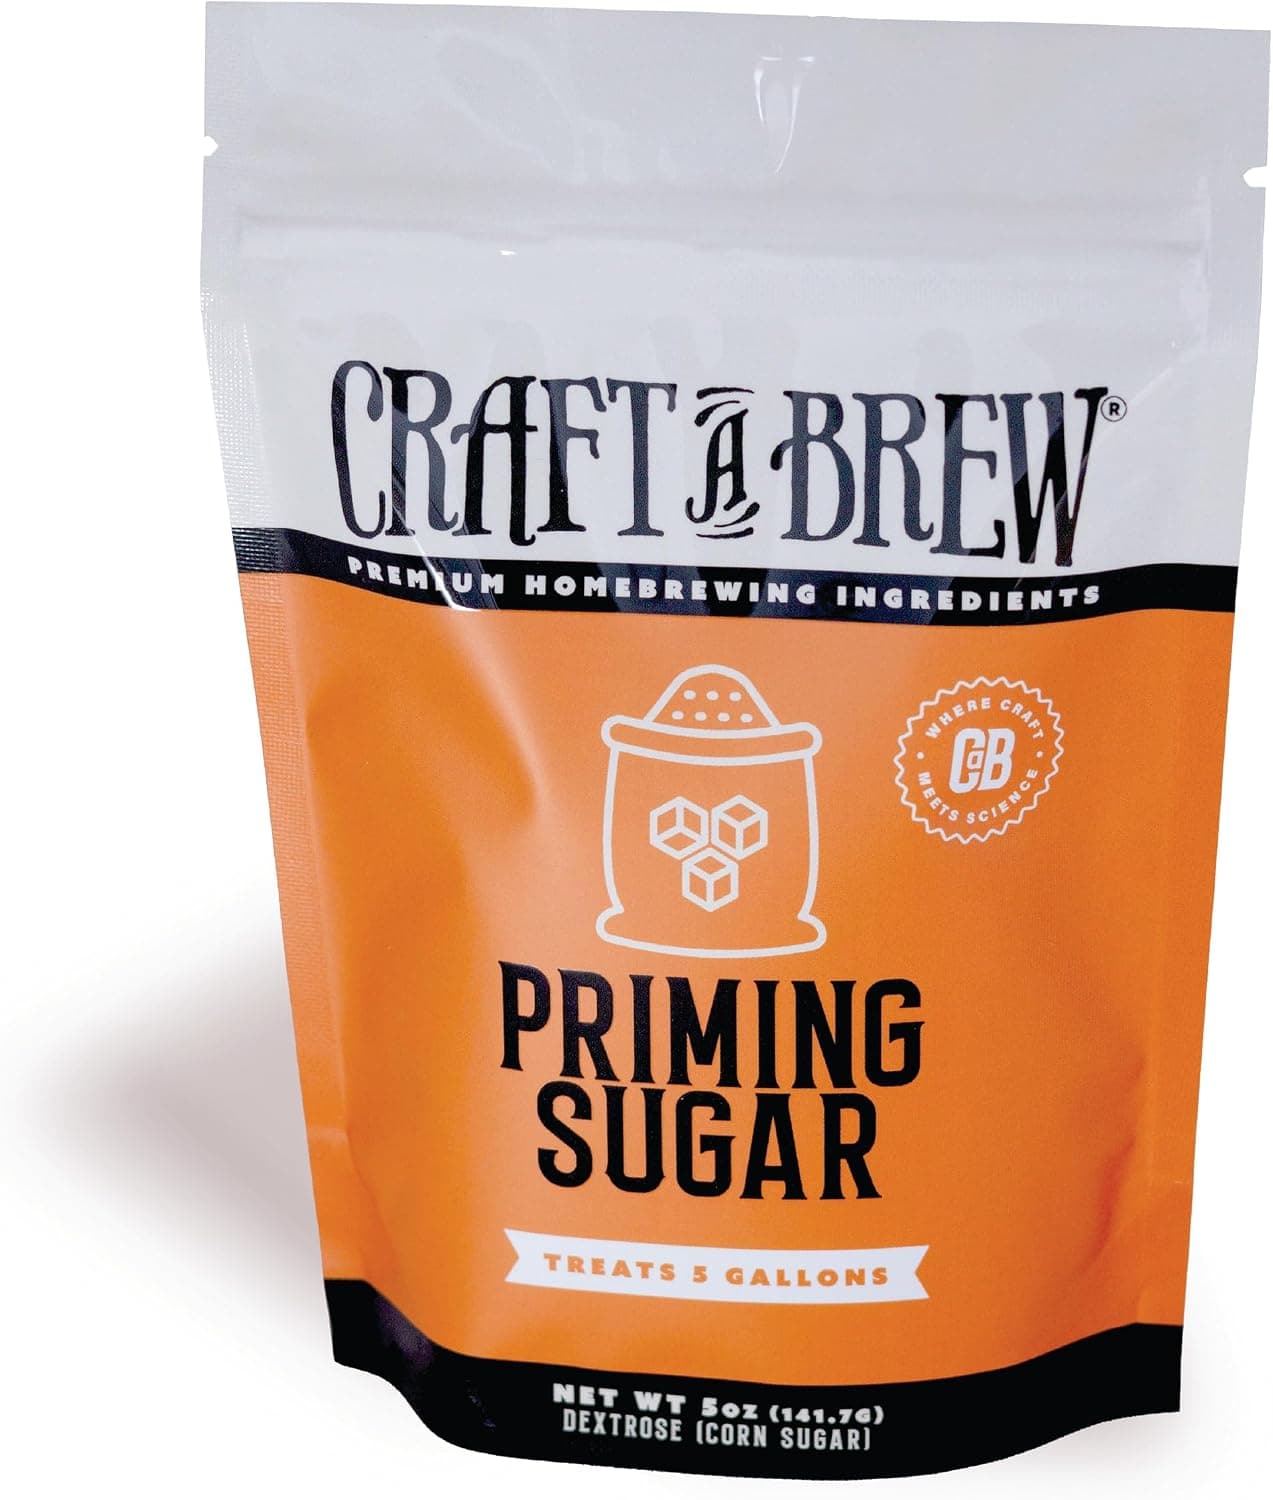
The carbonation comes from priming sugar, which you add to the whole batch rather than to each bottle for consistency. Dissolve the correct amount of sugar in a little boiled water, let it cool, and gently mix it into the beer in a bottling bucket without splashing or stirring in oxygen. Getting the sugar amount right for your batch size and beer style is important, because too much can produce dangerously over-carbonated bottles.
Fill each bottle using a bottling wand, a rigid tube with a spring valve at the tip that stops the flow when you lift it. Fill from the bottom to reduce splashing and leave the small air gap the wand naturally creates near the top. Then cap immediately with a sanitized crown cap and a capping tool, checking that each cap is crimped down snugly so it holds pressure.
Store the filled bottles upright at room temperature, out of direct light, for about two weeks so the yeast can carbonate them. After conditioning, move a few to the refrigerator to chill and test one. If it pours with a satisfying hiss and a good head, the batch is ready. Bottle conditioning rewards patience, and beers often continue to improve in flavor for weeks after they first carbonate.
Products from this article
The highest-scoring picks from the buying guides mentioned above. Scores are our editorial assessment, not customer ratings.
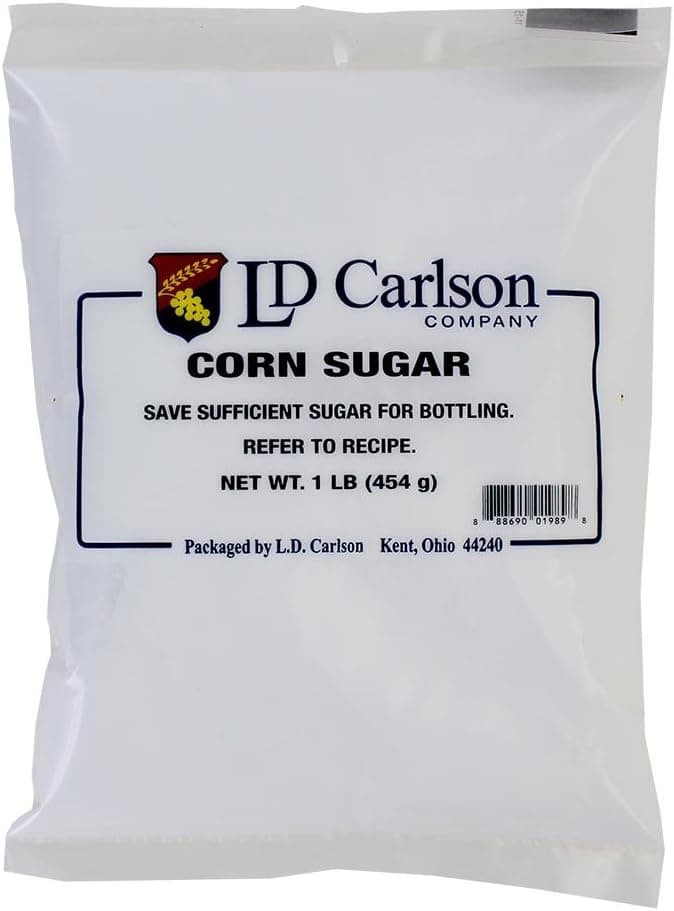
+ Dextrose ferments cleanly without adding flavor to the finished beer
From our guide: Best Priming Sugar for Bottle Conditioning (2026)
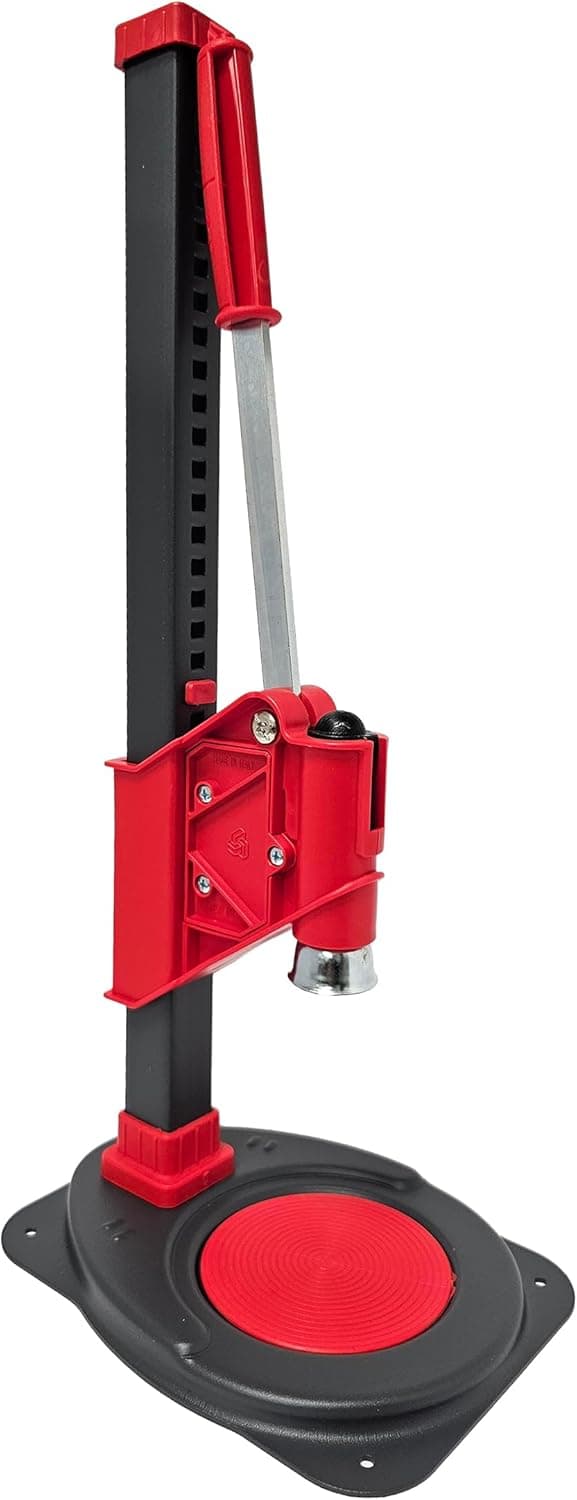
+ Italian Ferrari Agata design is a trusted homebrew capper
From our guide: Best Bottle Cappers for Homebrew (2026)
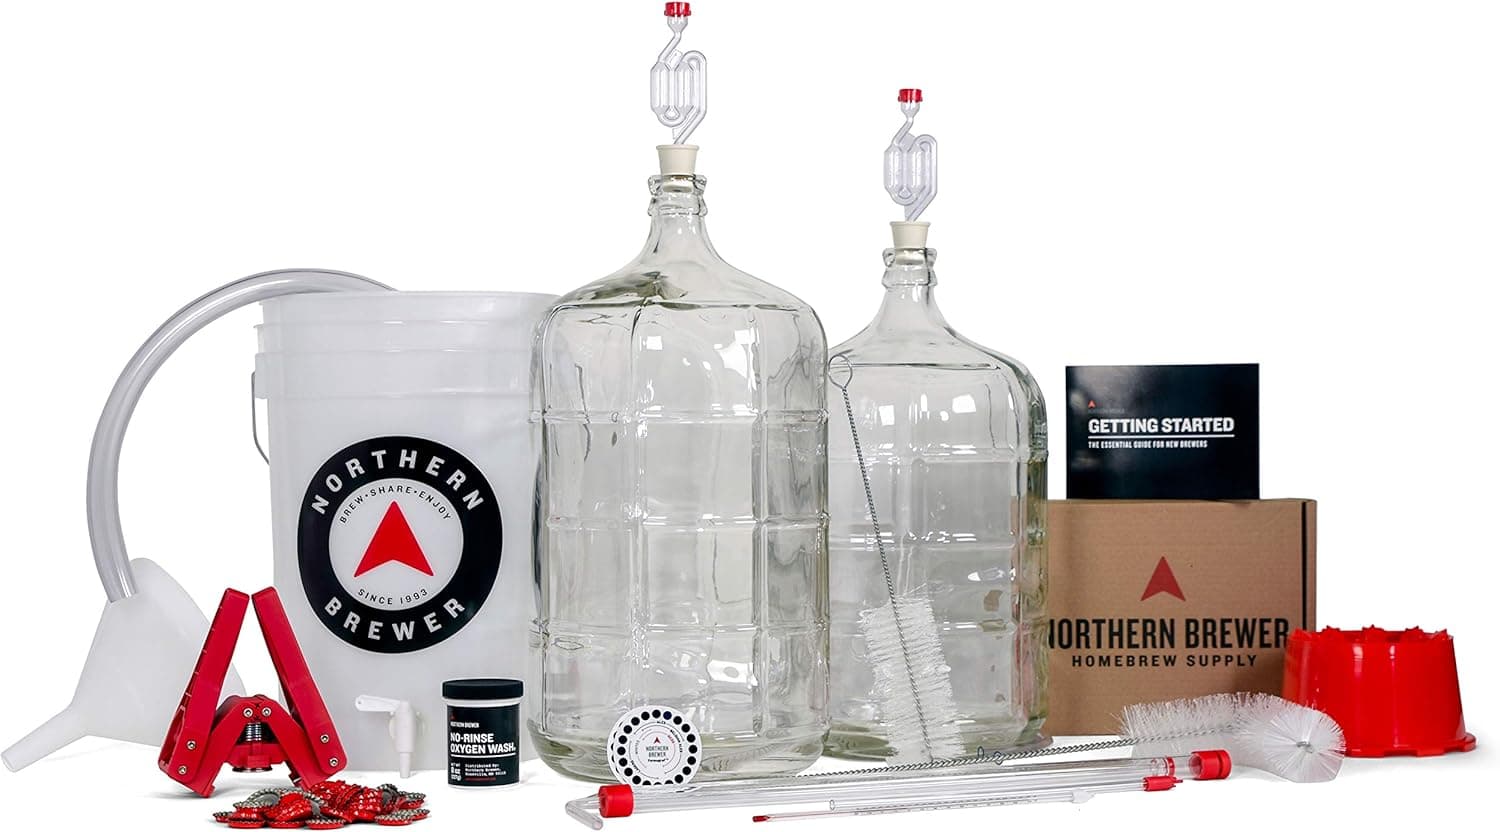
+ Deluxe tier adds extra gear over the basic set, so you outgrow it more slowly
From our guide: Best Homebrew Starter Kits for Beginners (2026)
+ 5 oz bag is pre-portioned for a standard batch, so no weighing
From our guide: Best Priming Sugar for Bottle Conditioning (2026)
Popular right now
- How to Store Hops and Grain ProperlyArticle
- Best Brew in a Bag (BIAB) Bags for Homebrewing (2026)Buying guide
- Cleaning and Sanitizing KitCollection
- Fermentation Temperature ControlCollection
- First Extract Brew KitCollection
- Reading Original and Final Gravity to Calculate ABVArticle
Based on the last 28 days of search and visitor data.